Synology UPS and other machines
If the other machines are powered by the same UPS that’s connected to the Synology NAS, you’re lucky: your NAS can use NUT to tell other machines about the UPS status. Here’s how to do it.
On the Synology NAS
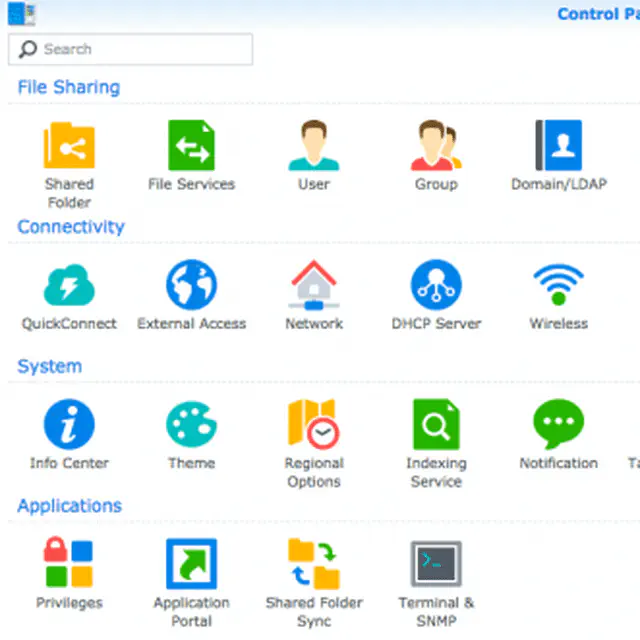
Open the beloved web interface and login. The open the Control Panel and select “Hardware and Power”.
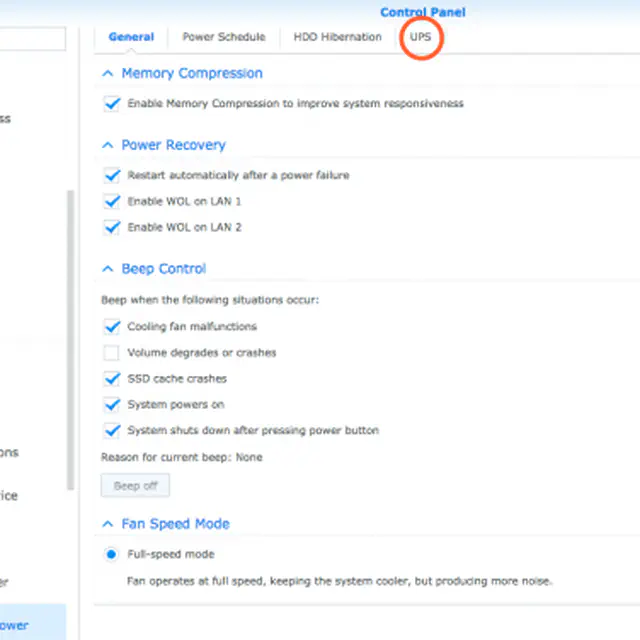
You’ll be presented this screen. Select “UPS”.
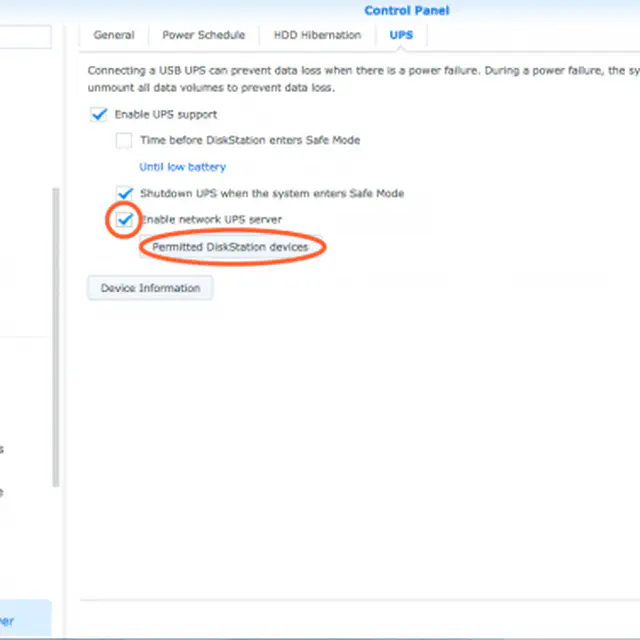
Select “Enable network UPS server” and click on “Permitted DiskStation Devices”.
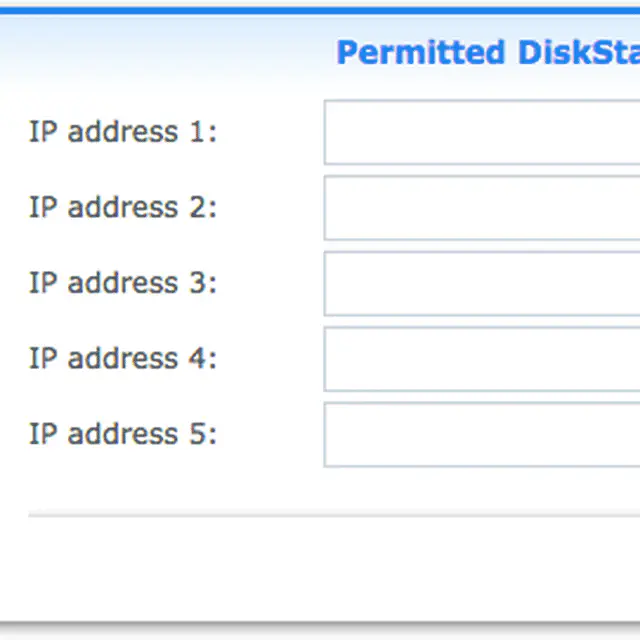
On this popup window enter the IP address of the “UPS client” machine(s).
On a Debian Machine
Log into the machine and use apt to install “nut-client”.
sudo apt install nut-clientThen edit /etc/nut/nut.conf and be sure to have the MODE line set like this:
MODE=netclientThe other file to edit is /etc/nut/upsmon.conf: you should have a MONITOR line like this one:
MONITOR ups@192.168.1.200 1 monuser secret slave(Assuming that your Synology NAS is 192.168.1.200; replace with the correct address otherwise)
Now restart the service:
sudo service nut-client restartOn a Windows Machine
Log into the machine, download and install the NUT binaries.
When the installation is completed, open WinNUT Configuration Tool.
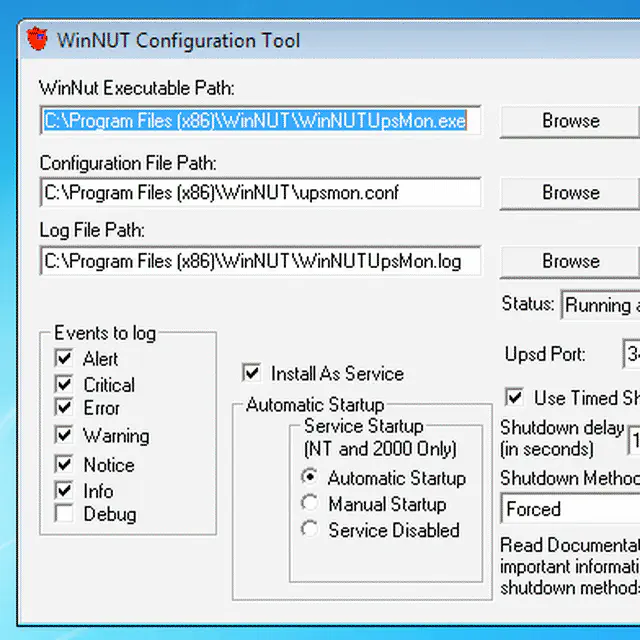
Press “Stop WinNUT” and “Edit” to change the configuration file.
Search the “MONITOR” line and change it like this one:
MONITOR ups@192.168.1.200 1 monuser secret slave(Assuming that your Synology NAS is 192.168.1.200; replace with the correct address otherwise)
Save and close the file. Now you can click on “Apply and Start WinNUT”.
Conclusion
If everything went according to plan, you should now try and disconnect the power from the UPS. This should do what’s meant to do: keep powering the devices connected to it. And notify the Synology NAS about the situation. The NAS should now report the status to the other connected machine(s), which will react according to their configuration; if you’ve configured it right, all the devices will start a shutdown sequence and then the UPS will power off. Go, do it now!